Published 07 Aug 2025
How to Install Vinyl Plank Flooring
Clear steps to install vinyl planks with tight seams and a clean finish. We cover acclimation, expansion gaps, staggering, cutting, and trims for a pro-looking DIY install.
Vinyl InstallationDIY
FlooringWiki Team
Flooring Wiki Editor

Plan First
- Measure the room and sketch a quick plan with doorways and obstacles.
- Check temperature/humidity meet your product’s installation range.
- Read the manual—follow approved subfloors, pads, and gap sizes.
Tools & Materials
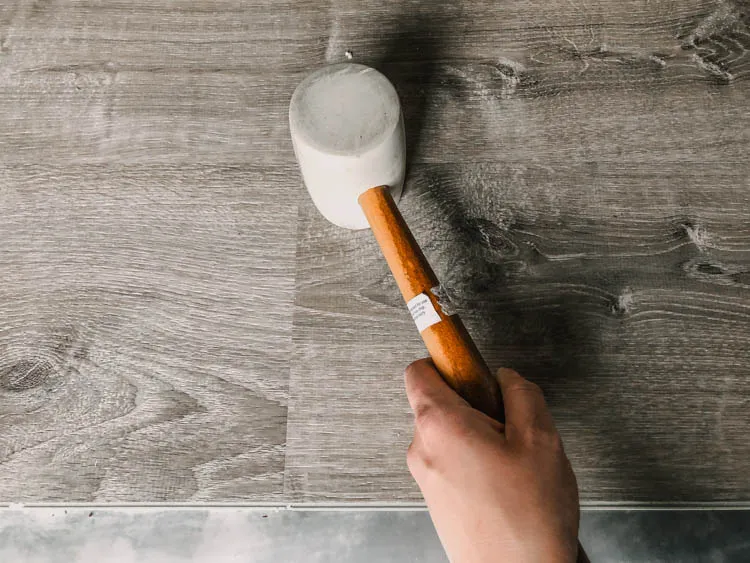
- Tape measure, square, pencil, spacers, tapping block, pull bar, rubber mallet.
- Utility knife with fresh blades and/or fine‑tooth saw.
- Oscillating/undercut saw for door jambs and casings.
- Straightedge, chalk line, and vacuum.
- Approved underlayment or vapor barrier (if required).
Acclimation & Subfloor Checks
- Acclimate planks per manufacturer (often 24–48 hours in‑room).
- Flatness: fix dips and humps to meet spec—telegraphing causes gaps and noise.
- Cleanliness: vacuum thoroughly; debris under a floating floor creates high spots and creaks.
- Moisture: on concrete, test and use approved vapor barriers if needed.
Underlayment Rules
- Many rigid‑core LVPs include an attached pad. Don’t add extra cushion unless the brand explicitly allows it.
- Over concrete, use a vapor barrier if your instructions require it.
- See underlayment guide for details.
Layout Math (No Slivers)
- Find the longest sightline and choose a straight starting wall.
- Dry‑lay a few planks to estimate last‑row width. If it’s under 2–3", rip the first row narrower for balance.
- Stagger end joints ≥ 6"; avoid H/stair‑step patterns.
Door Jambs & Obstacles
- Undercut door jambs/casings so planks slide underneath.
- Leave expansion clearance at pipes and columns; use neat covers.
- Template tricky shapes with cardboard before cutting the plank.
Click‑Lock Installation
- Snap a reference line if the wall isn’t straight.
- Set spacers and lay the first row tongue‑toward‑wall (per manual).
- Angle‑in the long side, then tap the end joint closed.
- Use off‑cuts to start the next row while preserving the 6" stagger.
- Check straightness every few rows; maintain expansion gaps.

Finishing & Trims
- Remove spacers; install baseboards or quarter‑round to cover gaps.
- Fit transition strips where flooring meets other surfaces.
- Reinstall doors and check swing clearance.
Post‑Install Checklist
- Vacuum and damp mop; remove all grit.
- Add felt pads to furniture; place walk‑off mats at entries.
- Review the care guide—no steam mops; use pH‑neutral cleaners.
Common Mistakes
- Skipping subfloor flatness fixes or acclimation.
- Forgetting expansion gaps around pipes, islands, and columns.
- Using soft/stacked pads that stress click‑locks.
- Forcing joints with the wrong tapping angle and chipping the lock.
FAQs
Do I need to remove baseboards?
Not always. You can leave them and finish with quarter‑round. Removing baseboards gives a cleaner look but adds work.
Can I install over tile?
Often yes—if the tile is sound and flat. Skim grout lines. See vinyl over tile.
Which way should planks run?
Typically along the longest wall or toward natural light for a spacious feel.
Related Reads
FlooringWiki Team
Flooring Wiki Editor