Can You Put Vinyl Over Tile?
When it’s okay to float vinyl over tile and how to prep for a flat surface. Fix loose tiles, level grout lines, and choose the right underlayment for best results.
FlooringWiki Team
Flooring Wiki Editor

Short Answer
Yes—vinyl flooring can be installed over existing tile when the tile is solid, clean, and flat. Most homeowners use a floating click‑lock vinyl plank (LVP/SPC) after filling grout lines and addressing any lippage. The right prep stops grout joints from telegraphing through your new floor and keeps the locks strong.
Why Install Over Tile?
- Avoids messy demolition and disposal costs.
- Usually faster—often a weekend DIY project.
- Tile can act as a stable, moisture‑resistant base when intact.
- Less dust and disruption than tearing out tile.
When It Works
- Tile is firmly bonded—no hollow sounds, no loose pieces.
- Surface can be made flat with minor patching or skim coating.
- Added height won’t pinch doors, appliances, or transitions.
- No active moisture leaks or slab vapor issues.
When Not to Do It
- Large areas of loose, drummy, or cracked tile.
- Major height buildup that creates tripping hazards.
- Chronic moisture problems (wet slabs, leaks) not yet resolved.
- Severely uneven tile that would exceed the vinyl’s flatness spec.
Quick Decision Guide
- Tap test: hollow = fix or remove; solid = proceed.
- Lippage: high edges must be ground or feathered.
- Grout: fill deep joints so they don’t telegraph.
- Height: check doors, appliances, and transitions now.

Prep Steps (Beginner‑Friendly)
- Clean and degrease: kitchens and baths often have residues. Rinse well—bond breakers cause failures.
- Fix the tile: replace loose or cracked tiles and secure transitions.
- Address lippage: grind high edges or feather with patching compound.
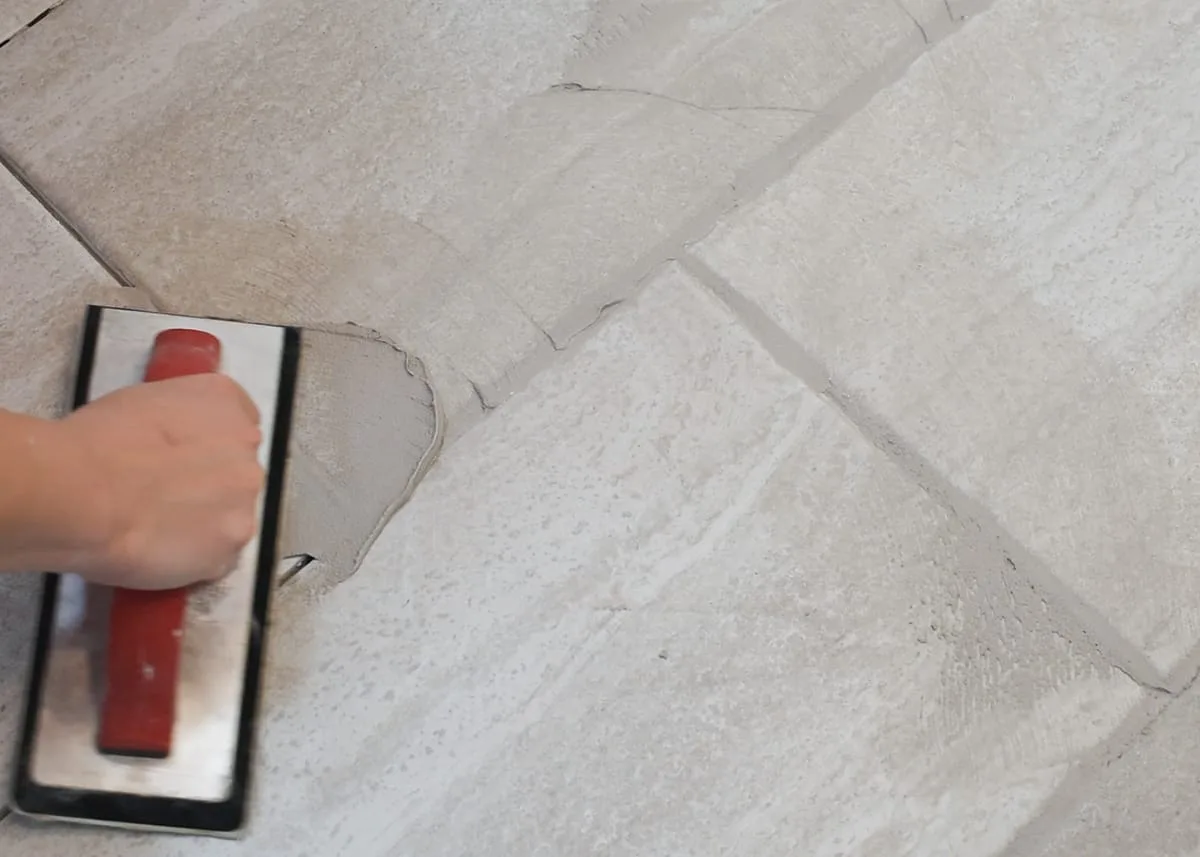
- Fill grout joints: skim coat so the surface is smooth and flat.
- Spot‑level low areas: use an appropriate cementitious patch or self‑leveler as directed by the vinyl manufacturer.
- Vacuum thoroughly: dust under floating vinyl can creak and reduce support.
Underlayment Choices
- Attached pad only: many rigid‑core planks include a pad suitable over tile once flat. Verify your product’s rules.
- Separate underlayment: use only if the vinyl brand approves it over tile; choose one that adds sound control without stressing locks.
- No carpet pad—ever. It’s too soft and will damage click joints.
Height, Doors, and Transitions
- Check exterior and interior door clearance; undercut if needed.
- Plan transition profiles to adjacent floors to avoid trip points.
- Appliances: ensure the new height won’t trap the dishwasher. Often you install to the toe‑kick, not under fixed cabinets.
Moisture Considerations
- Slabs: follow your vinyl product’s slab moisture limits; use approved vapor barriers if required.
- Wet areas: fix leaks and recurring water issues before installing.
- Bathrooms: seal at tubs and showers per manufacturer guidance.
Radiant Heat
Many rigid‑core products are compatible with hydronic or electric radiant systems beneath tile. Confirm temperature limits and bring the system up and down gradually per the instructions.
Installation Approach
Floating Click‑Lock (Most Common)
- Leave expansion gaps at walls, cabinets, and fixed objects.
- Stagger end joints for strength and a natural look.
- Work off the longest, straightest run; scribe your first row.
Glue‑Down (Advanced)
- Only when approved over tile; requires the correct adhesive and trowel with very flat substrate prep.
- Common in commercial spaces or rolling‑load areas.
Around Kitchens and Baths
- Dishwashers: don’t trap the unit; leave clearance for service.
- Refrigerators: move on plywood or sliders—never drag across vinyl.
- Toilets: pull the toilet, set flooring, use a new wax ring or seal, and caulk as directed.
Tools & Materials Checklist
- Degreaser/cleaner, buckets, scrub pads
- Patching compound or self‑leveler, trowels, straightedge
- Feather‑finish/skim‑coat material for grout joints
- Oscillating saw/undercut saw (for door jambs)
- Spacers, tapping block, pull bar, mallet
- Utility knife or saw for plank cuts, square, pencil
- Transition profiles and thresholds
Common Mistakes to Avoid
- Skipping grout‑line fill—leads to telegraphing.
- Installing over loose or drummy tile.
- Using soft underlayments that overstress click joints.
- Ignoring door and appliance clearances.
- Steam mopping after install—avoid heat and excess moisture.
Frequently Asked Questions
Do I need to remove the tile first?
Not if the tile is solid, the surface can be made flat, and height won’t cause problems. Otherwise, removal is safer.
Will grout lines show through?
If you don’t fill them, they can. Skim coat grout lines and low spots, then verify flatness before installing.
Which vinyl type is best?
Rigid‑core LVP/SPC is popular over tile for stability and ease. Choose a suitable wear layer for your traffic level. Seewhat is vinyl plank flooring andwear layer guide.
Can I put vinyl in the kitchen or bath?
Yes—with the right prep and product. Readvinyl in the kitchen for care and appliance tips.
How long will it last?
With proper prep and a quality product, many floors last for years in busy homes. Seevinyl lifespanand cleaning tips.
Related Reads
- What Is Vinyl Plank Flooring?
- Do You Need Underlayment for Vinyl?
- Is Vinyl Flooring Waterproof?
- How Thick Should Vinyl Wear Layer Be?
Bottom Line
Installing vinyl over tile is a smart, time‑saving project when the tile is sound and the surface is made flat. Focus on bond, flatness, height, and moisture—and follow your product’s instructions for underlayment and expansion gaps. Get those right, and you’ll have a quiet, durable floor without the demolition mess.
FlooringWiki Team
Flooring Wiki Editor